Ever stumbled upon a dusty box full of old passport photos and wondered what to do with them? Maybe you want to keep them safe, share them with family, or just reduce physical clutter. Digitizing old passport photos is like giving your memories a second life — making them easier to store, access, and even enhance. But how do you do it right? Scanning and digitizing isn’t just about snapping a quick photo with your phone. It requires a bit of care and some know-how to preserve the quality and integrity of those little snapshots from your past. In this guide, I’ll walk you through everything you need to know to turn your old passport photos into crisp, digital keepsakes.
Understanding the Basics of Scanning Old Passport Photos
When it comes to preserving old passport photos, many people underestimate the value of properly digitizing them. Digitizing isn’t just about getting a quick picture of an old print — it’s about transforming a fragile physical keepsake into a reliable, long-lasting digital format. This process ensures that even the smallest and most faded passport photo from decades ago can be restored, stored, and shared with ease. Whether you’re compiling a family archive, updating documents, or simply holding onto memories, the act of scanning these images gives them new life in the digital world.
So, what does it actually mean to digitize a photo? At its core, it involves converting a physical print into a computer-readable image file — typically JPEG or PNG. This digital version can then be stored on your hard drive, uploaded to cloud storage, or emailed to family and friends. Think of it like transferring an old cassette to Spotify — you still have the charm of the original, but now it’s accessible anywhere and preserved from physical degradation. Old photos are prone to fading, tearing, and loss over time, but once scanned, they can live indefinitely with just a few kilobytes of space.
A common mistake many people make is relying on smartphone cameras to “digitize” their photos. Sure, snapping a quick pic might seem convenient, but the result often lacks the clarity and consistency of a proper scan. Phone images tend to suffer from glare, shadows, distortion, and uneven focus. These flaws might not be obvious at first glance, but they become much more noticeable when you try to enlarge, print, or share the image. Scanning, on the other hand, captures the full resolution, color fidelity, and sharpness of the original photograph, preserving its authentic quality.
Understanding the basics of photo scanning also means recognizing the importance of doing it right the first time. A high-quality scan not only saves you from having to repeat the process later, but it also gives you a solid foundation for editing, restoring, and backing up the image. With the right tools and approach, digitizing your passport photos becomes less of a chore and more of an opportunity — a chance to protect your history, reconnect with your past, and make sure your memories are ready for the digital future.
Preparing Your Passport Photos for Scanning
| Step | Why It Matters | Do This | Avoid This | Pro Tip |
| Cleaning the Photo | Removes visible dust/smudges that ruin scan clarity | Use a dry microfiber cloth; clean in a circular motion | Using water, alcohol, or household cleaners | Use a blower or soft brush for delicate or older photos |
| Handling the Photo | Prevents fingerprints and physical damage | Hold by the edges only | Touching the photo surface with bare fingers | Wear cotton gloves for extra care |
| Scanner Glass Prep | Ensures no streaks or marks transfer to scan | Wipe with lint-free cloth before each session | Ignoring tiny specks or smudges | Scan a blank white paper first to check for glass issues |
| Workspace Setup | Reduces risk of dust, poor alignment, and accidental drops | Work on a clean, flat, well-lit surface | Scanning on cluttered or unstable surfaces | Use a white sheet underneath for alignment reference |
| Pre-scan Inspection | Catches potential issues before you waste time re-scanning | Examine photos under light for scratches or dirt | Skipping the check and fixing mistakes post-scan | Use a magnifying glass for high-detail evaluation if restoring old photos |
Choosing the Best Scanner for Passport Photos
Picking the right scanner for digitizing old passport photos can make a world of difference. It’s not just about converting an image — it’s about preserving the smallest details, the subtle tones, and the authenticity of the original. Different scanners come with different strengths, so choosing the right one really depends on your needs, budget, and how serious you are about the quality of your scans.
- Designed for high-resolution image capture.
- Photos lie completely flat on a glass surface, minimizing distortion.
- Offers full control over resolution, color settings, and file types.
- Ideal for fragile or old photos due to gentle, stationary scanning.
- Best choice for archival or restoration projects.
- Downsides: bulky in size, generally slower to scan each photo individually.
- Fast and efficient — great for scanning multiple photos quickly.
- Often includes built-in software for automatic color correction and dust removal.
- Some models allow scanning without removing photos from albums.
- High-resolution output with enhanced color accuracy.
- Downsides: typically more expensive than flatbeds; less versatile for scanning documents.
- Affordable and widely available.
- Decent for casual scanning if you’re not seeking ultra-high resolution.
- Good for everyday use but lacks advanced photo-handling features.
- Quality varies significantly depending on brand and model.
- Downsides: lower scanning resolutions, basic color handling, and limited image enhancement tools.
- Extremely convenient — scan photos on the go.
- Free or low-cost with features like glare reduction and auto-cropping.
Step-by-Step Guide to Scanning Old Passport Photos
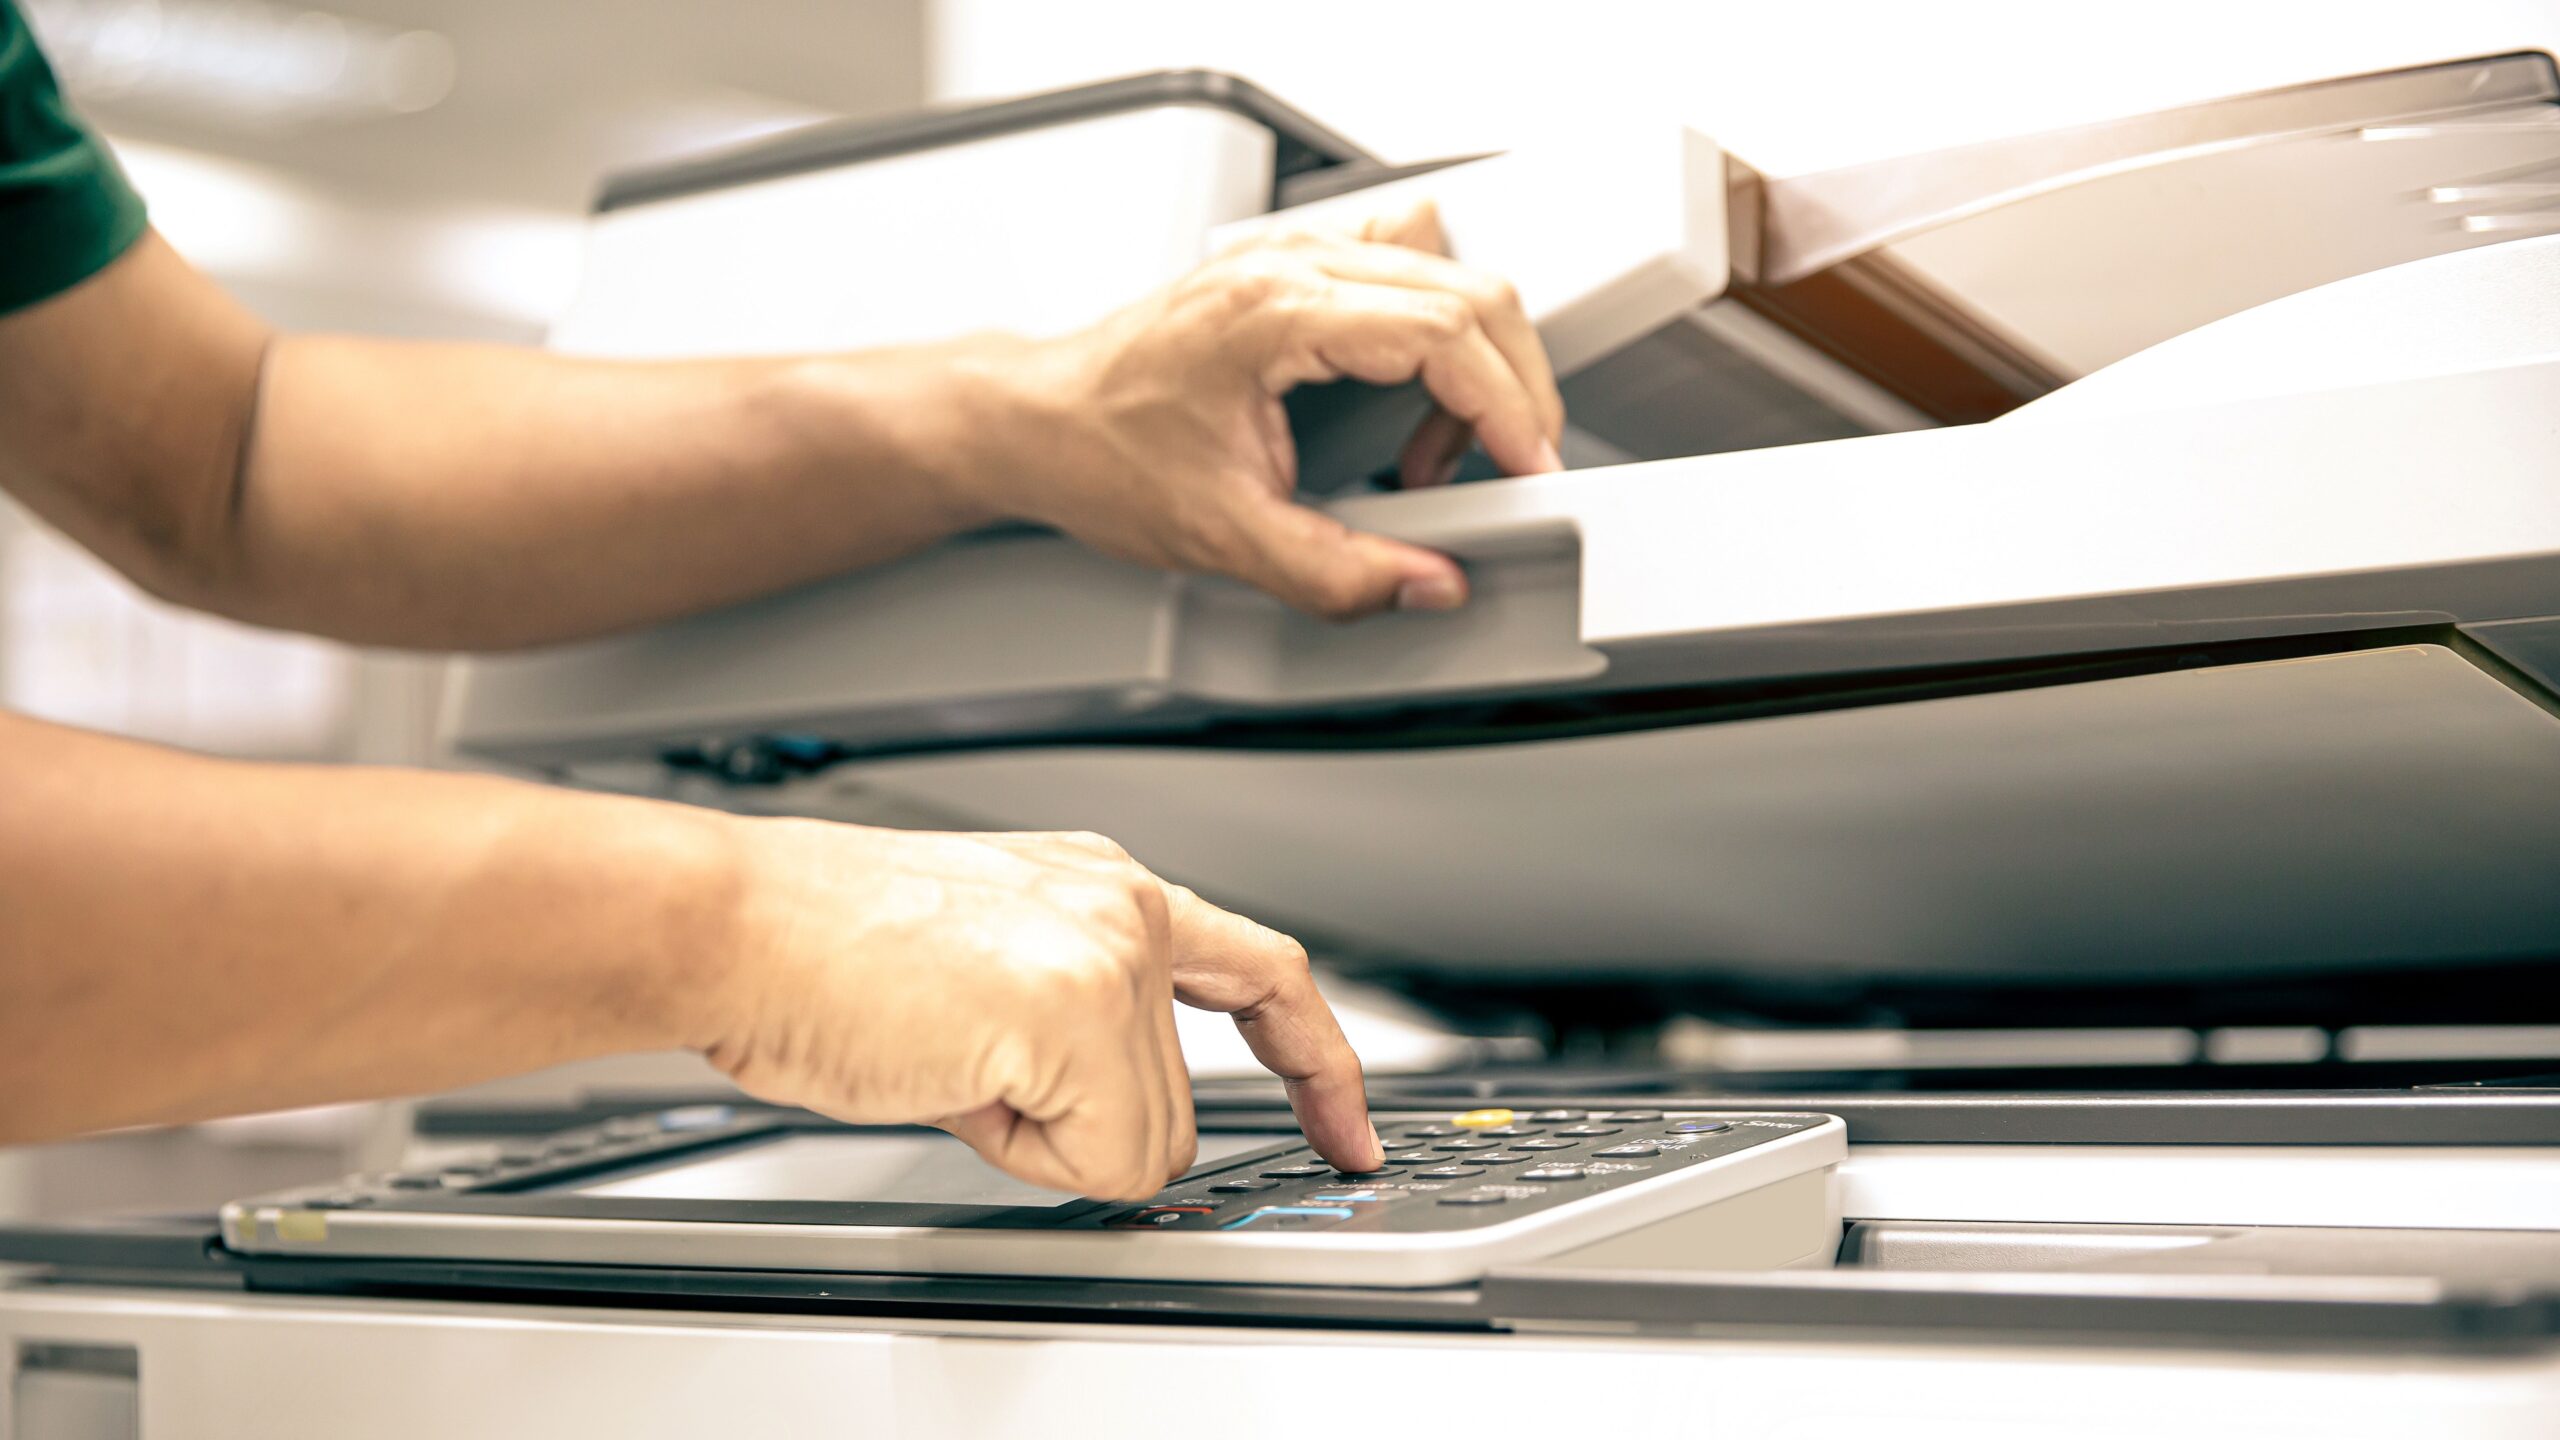
Scanning old passport photos is a simple but delicate process, and doing it right makes all the difference. Before anything else, you need to set up your scanner properly. That means plugging it in, installing the software that came with it (or downloading the latest drivers from the manufacturer’s website), and making sure it’s ready to go. One of the most common issues with poor scans is a dirty scanner glass, so don’t skip this step — wipe it clean with a lint-free cloth before you begin. Then, when launching the scanning software, make sure to set the resolution to at least 300 dpi. For archival or editing purposes, you might even want to bump that up to 600 dpi or higher.
Once your scanner is ready, positioning the photo correctly is your next step. Place the photo face-down on the scanner glass, making sure it’s aligned neatly along the edges. Most scanning programs include cropping guides or preview functions that help with proper placement. This is especially important for passport photos, where every millimeter counts. Misalignment may result in a crooked scan or unnecessary white space, which could require time-consuming edits later. If you’re scanning multiple photos at once, leave some space between them so you can easily crop them apart afterward.
Before performing the actual scan, always do a preview scan. This lets you see how the photo is aligned, whether it’s in focus, and how the lighting and exposure are looking. A preview helps catch problems like scanner bed dust, incorrect placement, or dark shadows that might otherwise go unnoticed until you’ve saved and closed the file. Use this preview to adjust cropping, orientation, and sometimes even brightness or contrast within the software itself. It might feel like an extra step, but it saves time and avoids disappointment when you review your final images.
Once everything looks perfect, go ahead and scan the photo. Choose to save it in a high-quality format — JPEG is great for everyday use and smaller file sizes, while TIFF is ideal for archival purposes because it doesn’t compress the image. But scanning doesn’t end there. How you name and organize your files makes a huge difference down the line. Use clear, consistent naming conventions like PassportPhoto_1985_JohnDoe.jpg, and organize folders by year, event, or individual name. This ensures you’ll be able to find what you’re looking for years later, whether you’re browsing on your laptop or uploading to cloud storage.
Editing and Enhancing Your Scanned Passport Photos
| Editing Task | Purpose | Best Tools (Free/Paid) | Ease of Use | Ideal For |
| Crop Borders | Removes unnecessary edges and scanner artifacts | Windows Photos (Free), Photoshop (Paid) | Very Easy | Everyone |
| Brightness & Contrast | Fixes exposure issues, enhances overall photo clarity | GIMP (Free), Lightroom (Paid) | Easy to Moderate | Casual users & photo hobbyists |
| Dust Spot Removal | Eliminates visible dust, scratches, or blemishes | Paint.NET (Free), Photoshop (Paid) | Moderate | Restoration projects, detail-focused |
| Color Correction | Restores natural tones and fixes color casts in faded photos | GIMP (Free), Lightroom (Paid) | Moderate | Photos with aging or discoloration |
| Advanced Retouching | Deep editing for serious restoration work | Photoshop (Paid) | Advanced | Professionals or experienced editors |
Storing Your Digital Passport Photos Safely
- Always keep multiple copies of your digitized passport photos to prevent loss due to hardware failure, accidental deletion, or other unforeseen events.
- Follow the 3-2-1 backup strategy: maintain at least three copies of your files.
- Store those copies on at least two different types of media, such as an external hard drive and cloud storage, to reduce the risk of data loss.
- Keep one copy offsite, meaning in a physically different location like cloud storage or a trusted friend or family member’s house, to protect against natural disasters or theft.
- Use reliable external storage devices from reputable brands, such as Western Digital, Seagate, or Samsung, to ensure the longevity and safety of your backups.
- Regularly check your external drives for any signs of failure or corruption, and replace them every few years or as needed.
- Automate your backups with built-in tools like Time Machine on Mac or File History on Windows, or third-party software, so that your photos are regularly and effortlessly saved.
- Choose cloud storage services that offer secure, scalable, and accessible solutions for your digitized photos.
- Popular cloud storage options include Google Photos, which provides automatic photo backups and easy sharing.
- Dropbox is great for syncing files across devices and organizing your photos in folders.
- iCloud integrates seamlessly with Apple devices and offers convenient backup and retrieval.
- Microsoft OneDrive offers tight integration with Windows and Office apps.
- Amazon Photos provides unlimited photo storage for Amazon Prime members, making it an affordable option for heavy photo users.
- Enable two-factor authentication on your cloud accounts to add an extra layer of security.
- Maintain a clear, consistent folder structure and file naming convention for your digital photos, organizing them by year, event, or person to make retrieval easier.
Sharing Your Digitized Passport Photos
Sharing your digitized passport photos can be a wonderful way to connect with family, friends, or even official agencies, but it also requires careful thought about privacy and security. These images often contain sensitive personal information, and once shared publicly, they can be copied, misused, or fall into the wrong hands. Because of this, it’s crucial to approach sharing with caution and use tools designed to keep your files secure and private.
One of the safest ways to share your digital photos is through private albums on trusted platforms. Many cloud storage services like Google Photos, iCloud, and Dropbox allow you to create albums that are only accessible to people you invite. This way, you control exactly who sees your photos. You can also set expiration dates on links or require recipients to sign in, adding an extra layer of security. Avoid posting these photos directly on public social media platforms where privacy controls are often weaker or more complicated to manage.
Password-protected sharing options are another excellent tool for keeping your passport photos safe. Some file-sharing services or cloud platforms allow you to add a password to shared folders or files. This means even if someone gets hold of the link, they won’t be able to view your photos unless they have the password. It’s a simple but effective step to keep your digital memories away from unintended eyes, especially if you need to share photos with multiple people who don’t know each other.
Finally, always be mindful of the devices and networks you use when sharing sensitive photos. Avoid using public Wi-Fi to upload or share passport images, as these networks can be vulnerable to hacking. When possible, share files on secure, private internet connections and keep your devices updated with the latest security patches. Taking these precautions ensures your digitized passport photos remain both accessible to the right people and protected from misuse or theft.